Propagating indoor plants is a satisfying and cost-effective way to expand your lovely green indoor garden.
It takes very little effort and the correct technique to make clone of other plants.
Propagation of indoor plants is quite a fun and straightforward process and this guide will guide you through various methods of propagating indoor plants.
4 Ways To Propagate Indoor Plants
Propagating indoor plants is the process of creating new plants from existing ones and it can be done in several ways which include propagation from seeds, cuttings, division, or layering.
Each method suits different types of plants so let’s dive into the most common methods for indoor plants.
1. Propagating from Seeds
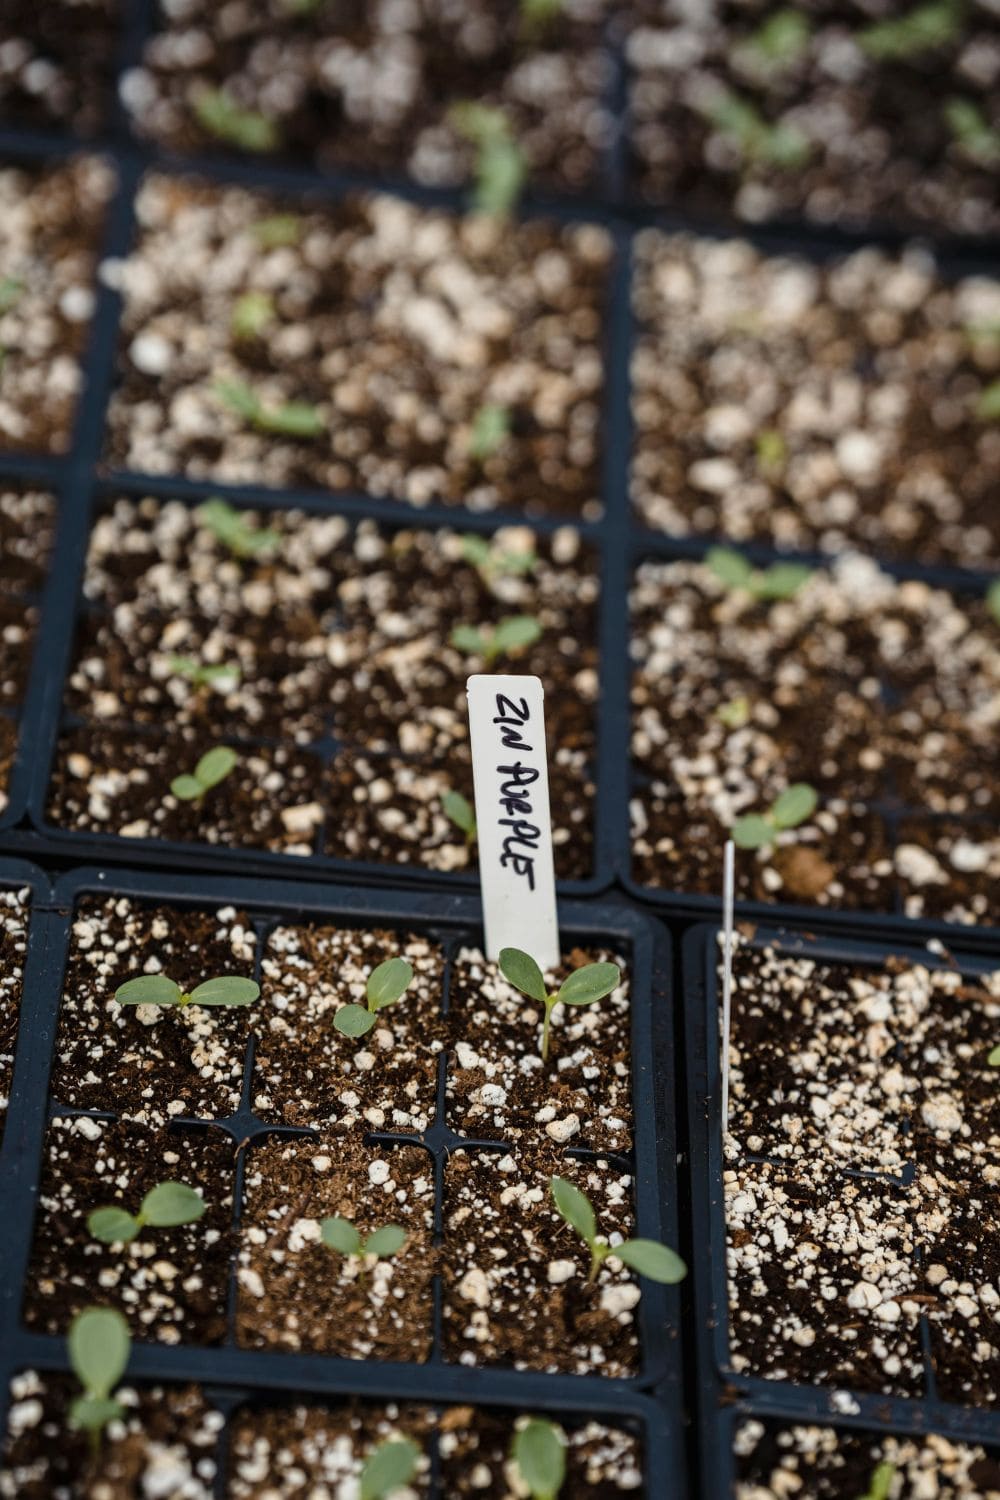
Growing plants from seeds is rewarding because it allows you to witness the entire growth cycle so here’s a simple step-by-step guide:
- Choose Your Seeds: Select seeds from a reputable source which have high germination rates.
- Prepare the Soil: Use a seed-starting mix, this type of soil is lighter and helps seedlings grow strong roots.
- Plant the Seeds: Follow the depth instructions on the seed packet, a common advice is, plant seeds at a depth of twice their size.
- Watering: Keep the soil moist but not waterlogged and a spray bottle is perfect for this.
- Light and Temperature: Place the pots in a warm area with indirect sunlight beacause most seeds germinate best at 65-75°F (18-24°C).
- Transplanting: Once seedlings have a few leaves, they can be moved to individual pots. In this process be gentle to avoid damaging the roots and giving it a transplant shock.
Growing a plant from seeds require patience but it’s quite satisfying when you see your full grown plant in the end.
2. Propagating from Cuttings
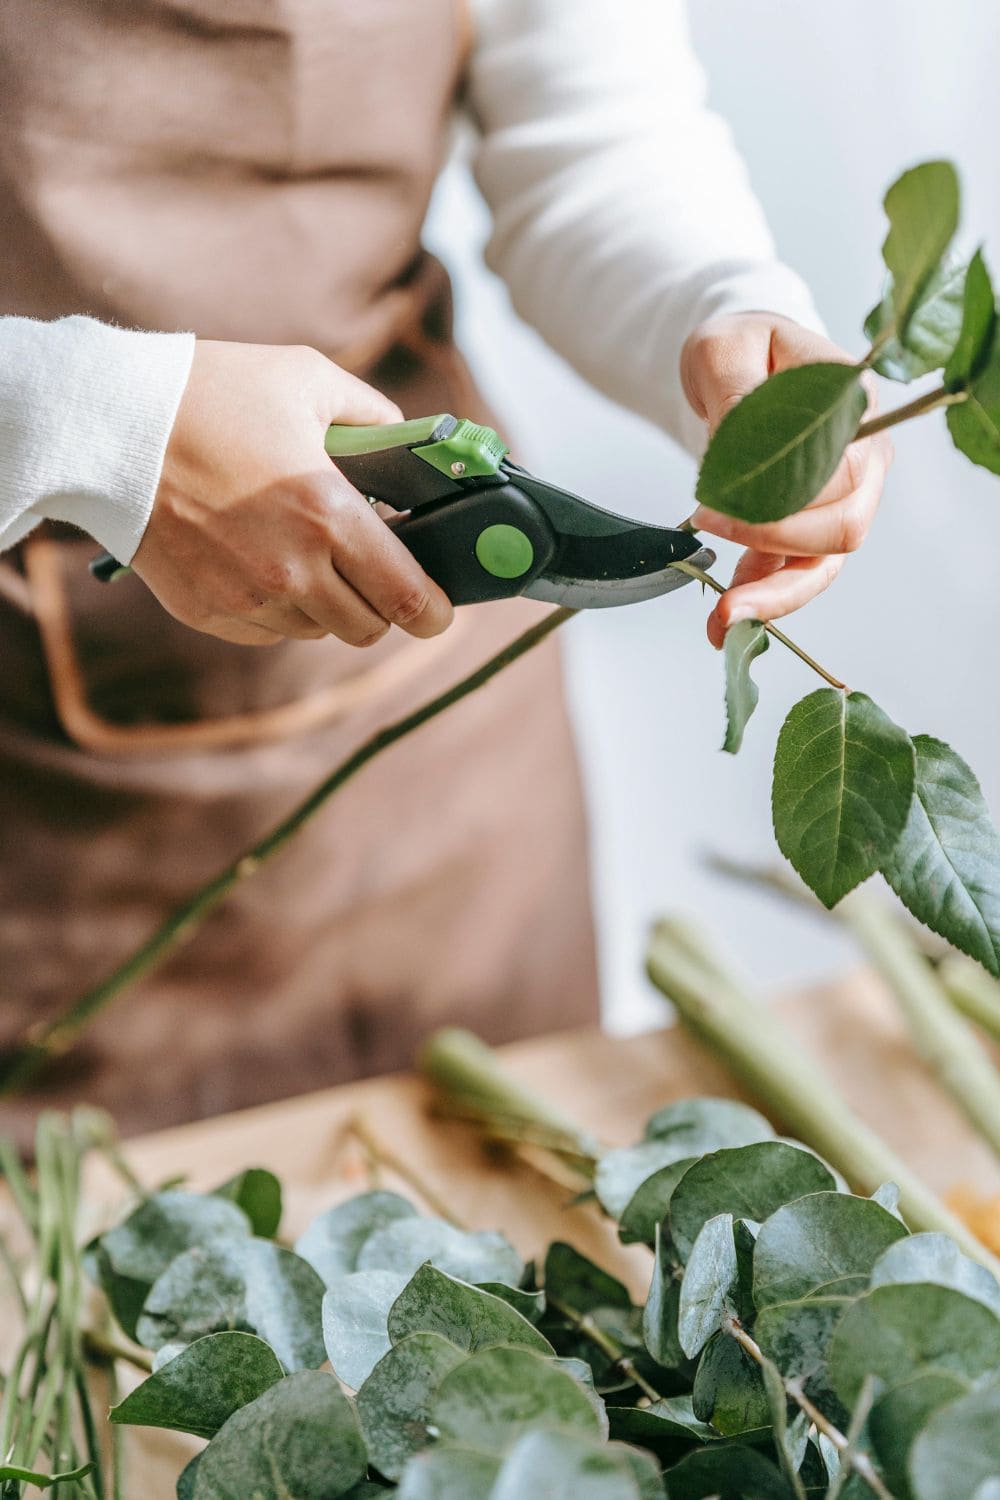
Cuttings are one of the easiest and most popular methods and here are the steps to do it:
- Select a Healthy Plant: Choose a plant that is healthy and vigorous.
- Take a Cutting: Using sharp scissors and cut a 4-6 inch (10-15 cm) section of the plant. Make sure the cutting has at least one node and the branch is pencil thick.
- Remove Lower Leaves: Remove the leaves from the bottom half of the cutting, this part will go into the soil or water.
- Prepare the Medium: You can root cuttings in water or soil. For water, use a clear glass so you can see root development. and for soil, use a well-draining potting mix.
- Plant the Cutting: Place the cutting in your chosen medium. If using soil, keep it moist but not soggy and if using water, change the water every few days.
- Wait for Roots: Roots should start to form in a few weeks and once they are a couple of inches long, the cutting can be transplanted into soil if it started in water.
You can do this method for plants like pothos, philodendrons, and spider plants.
Amazon Product Recommendation
If you're planning to do indoor gardening then you must a nice concrete pot, so here is one for you.
Disclaimer: Commissions are earned if you make a purchase through these links at no extra cost to you.

3. Propagating by Division

Division is ideal for plants that grow in clumps, it’s a great way to manage growth and revive the plant.
- Choose the Right Time: Spring or early summer is best, the plant is actively growing during these times.
- Remove the Plant from its Pot: Gently take the plant out. If it’s stuck, tap the pot’s sides to loosen it.
- Divide the Root Ball: Using your hands or a clean knife, separate the root ball into sections. Ensure each section has both roots and shoots.
- Replant: Place each section into a new pot with fresh soil and water them well.
- Care After Division: Keep the divisions in a warm, well-lit area. Water regularly to help them establish.
This method suits plants like peace lilies, snake plants, and ZZ plants.
4. Propagating by Layering
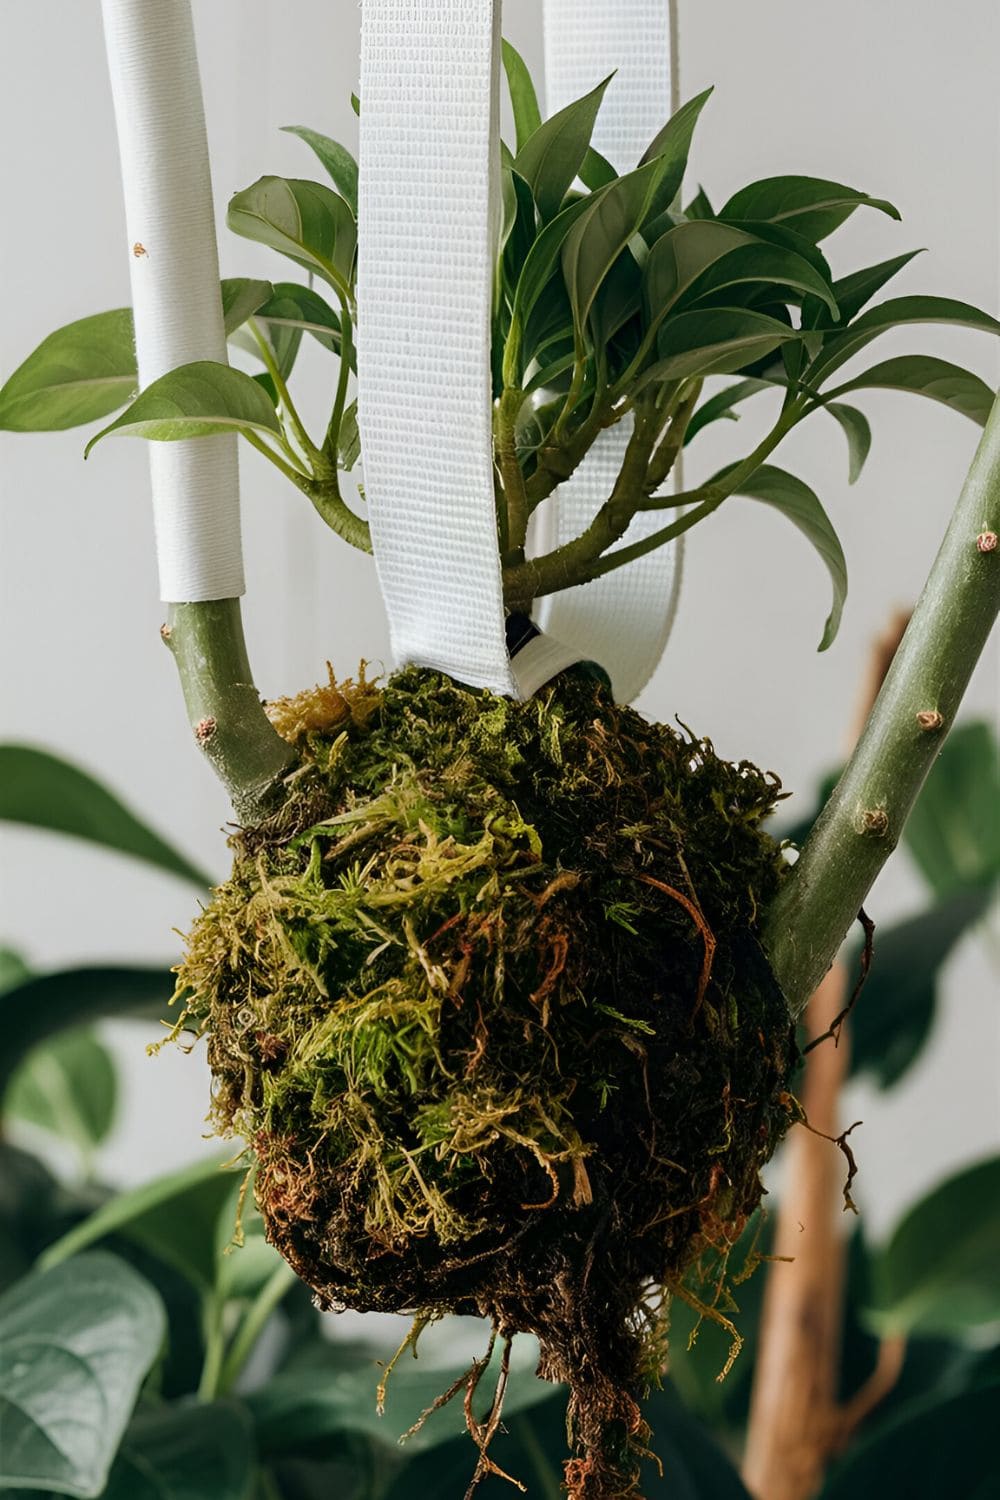
Layering involves rooting a branch of the plant while it’s still attached to the main mother plant and there are a few types of layering, but here’s the basic technique:
- Choose a Low Branch: Select a healthy, flexible branch that can touch the ground or a pot of soil.
- Wound the Branch: Make a small cut on the part of the branch that will be buried, this encourages rooting.
- Secure the Branch: Bury the wounded part in soil and secure it with a pin or a rock and make sure the tip of the branch remains exposed.
- Water and Wait: Keep the soil moist and then roots will develop over a few months.
- Cut and Pot: Once roots are established, cut the new plant from the mother plant and pot it separately.
Layering works quite well for plants like pothos and ivy.
Tips for Successful Propagation
Propagation is generally quite simple, don’t get disheartened if your first propagation isn’t successful but here are some tips to improve your success rate:
- Clean Tools: Always use clean, sharp tools to take cuttings which prevents disease.
- Right Medium: Use the appropriate medium (water, soil, etc.) for your specific plant.
- Humidity: Many cuttings need high humidity to root well so consider using a plastic bag or a propagator to maintain humidity.
- Patience: Some plants take longer to root than others so be patient and don’t give up if you don’t see immediate results.
- Label Your Plants: If you’re propagating multiple plants, label them because this helps you keep track of which cutting belongs to which plant.
Common Problems and Solutions
Propagation can sometimes be tricky and you might face some common issues, here’s how to fix them:
- Cuttings Not Rooting: This could be due to improper conditions so ensure the cutting is in the right medium, with adequate moisture and light.
- Rotting Cuttings: Overwatering or poor drainage can cause cuttings to rot so make sure that soil is well-draining and don’t keep the medium too wet.
- Slow Growth: Some plants naturally take longer to root so make sure that they are getting enough light and warmth.
- Wilting Cuttings: This often happens due to low humidity and the solution is to increase humidity by covering the cuttings with a plastic bag or placing them in a propagator.
Related: Making An Indoor Jungle In Your Home
Propagating Specific Indoor Plants
Different plants have specific needs and here’s a quick guide for some popular indoor plants:
Pothos

- Method: Cuttings in water or soil
- Steps: Take a 4-6 inch cutting with a node and place in water or soil, roots should form in 2-4 weeks.
Spider Plant
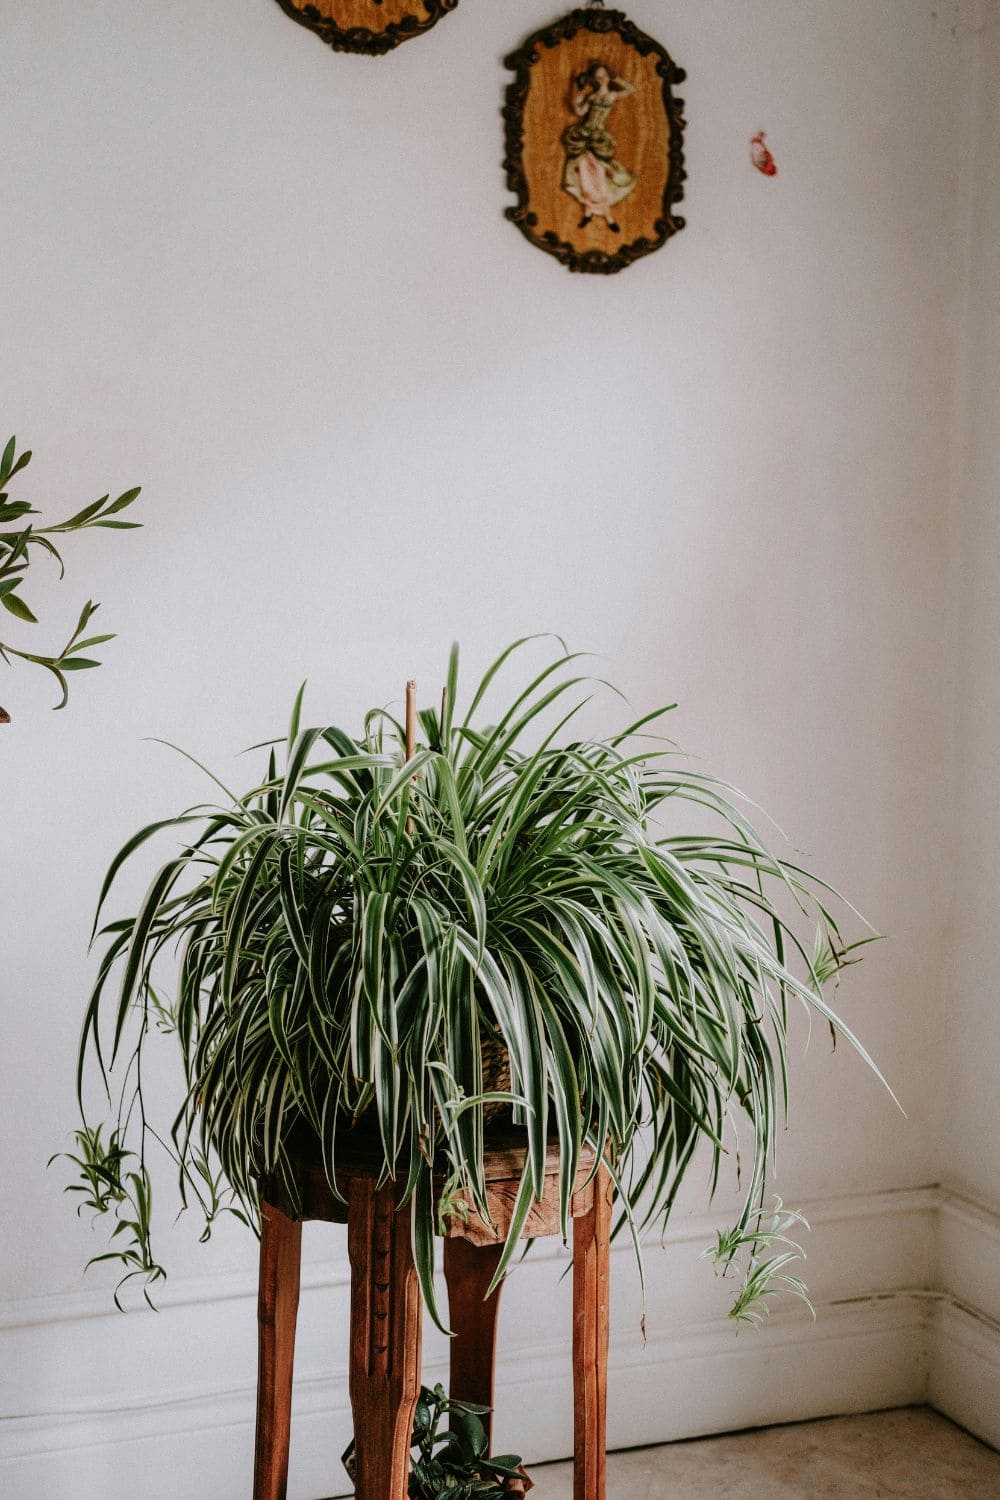
- Method: Offshoots (babies)
- Steps: Remove the baby plantlets and place them in water or soil, roots will develop quickly.
Snake Plant
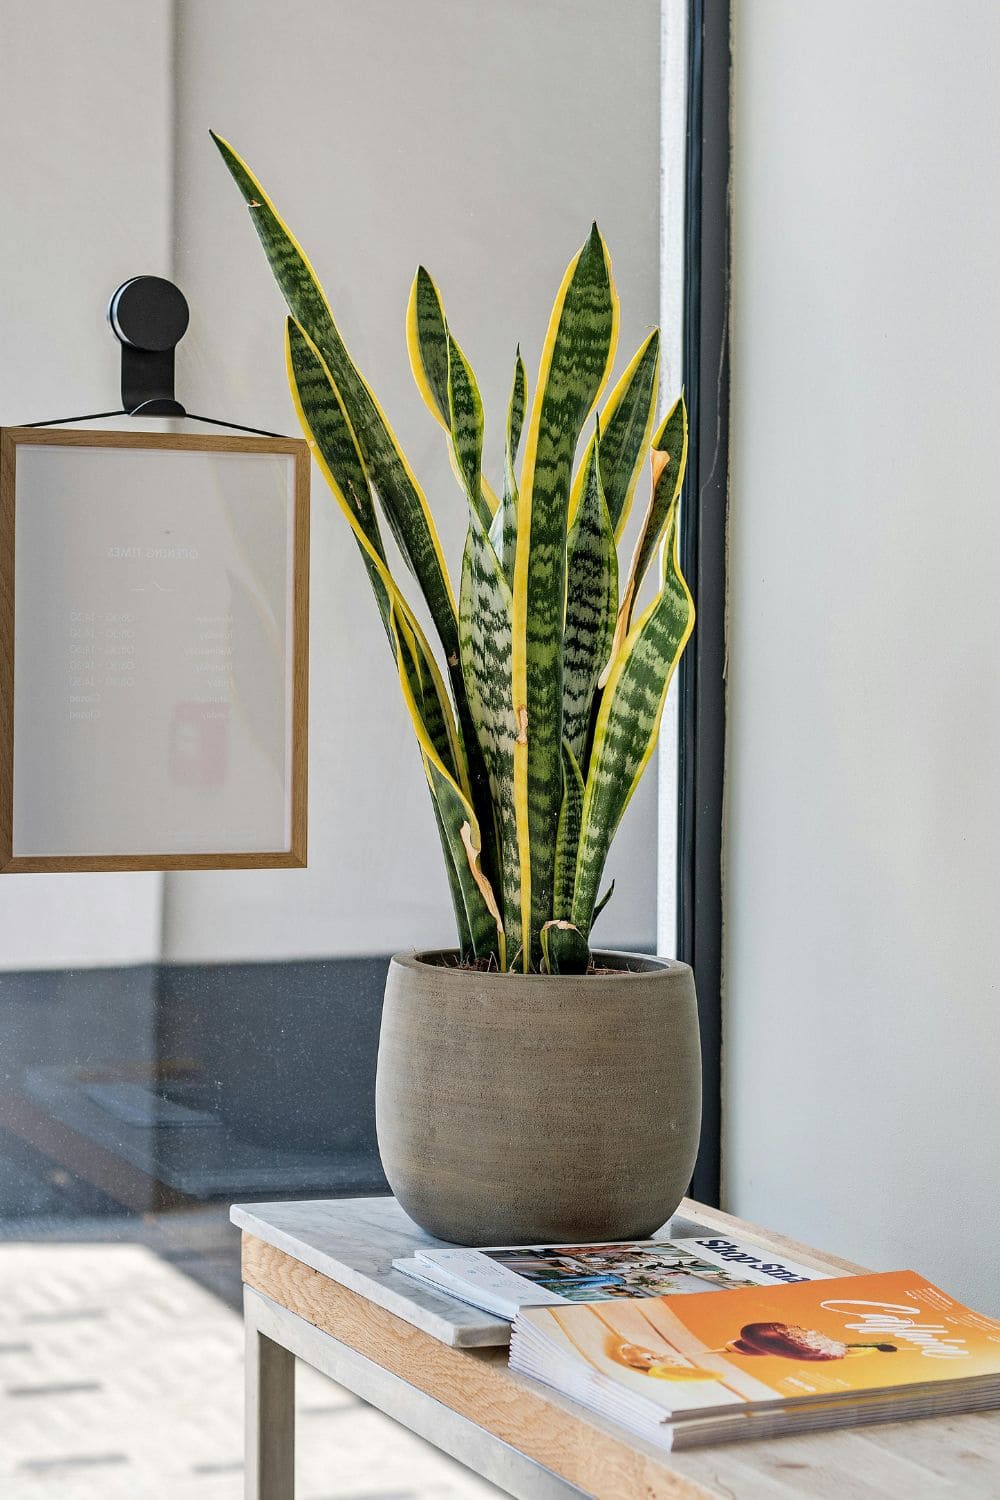
- Method: Leaf cuttings
- Steps: Cut a leaf into sections and plant each section in soil, roots will form at the base of each cutting.
ZZ Plant
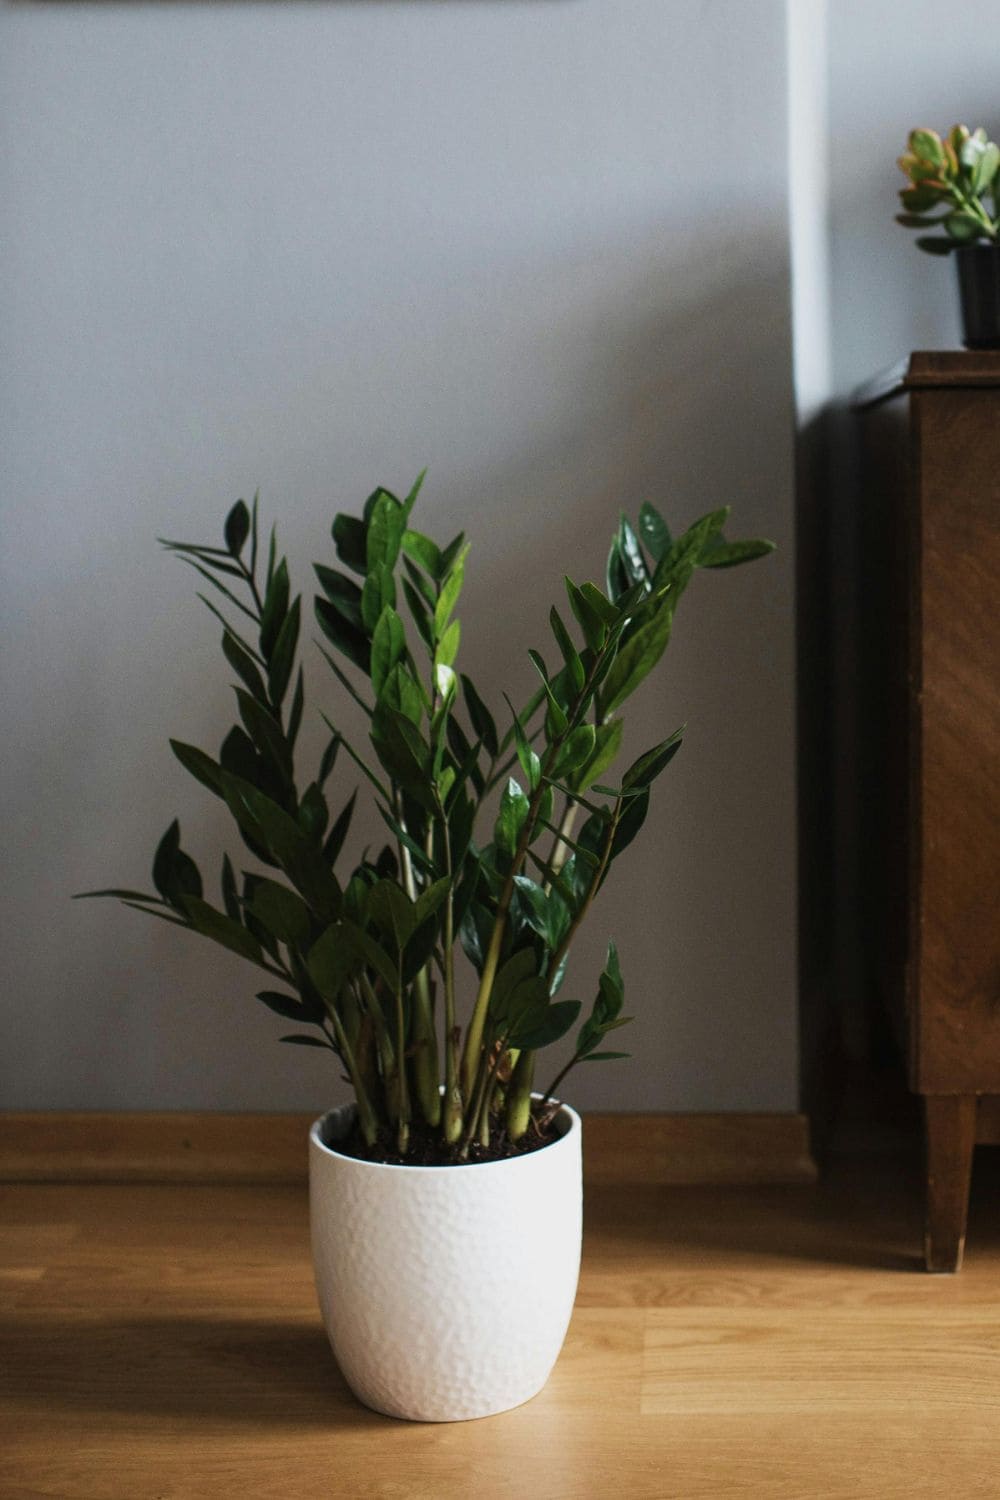
- Method: Division
- Steps: Remove the plant from the pot and divide the rhizomes, replant in separate pots.
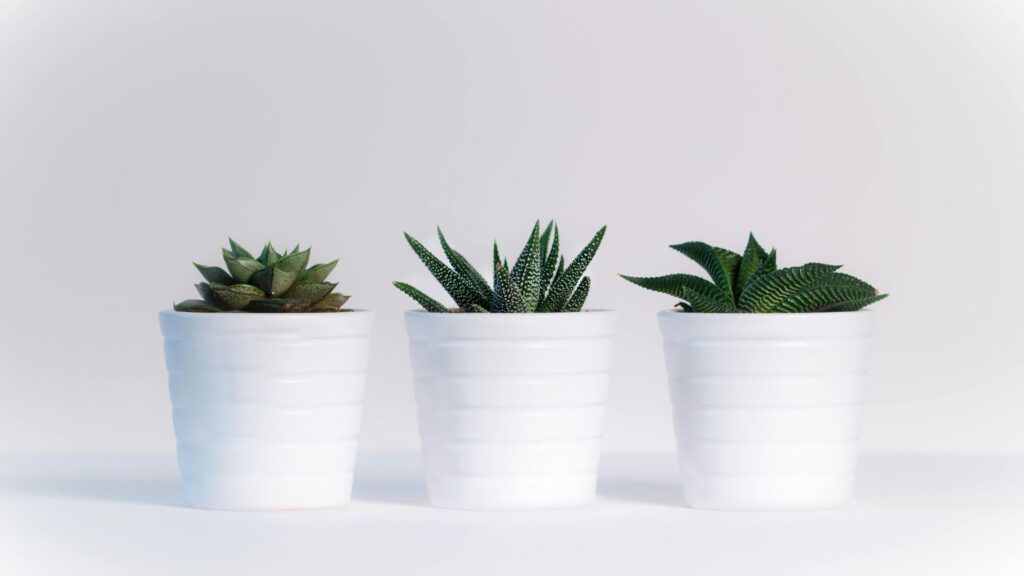
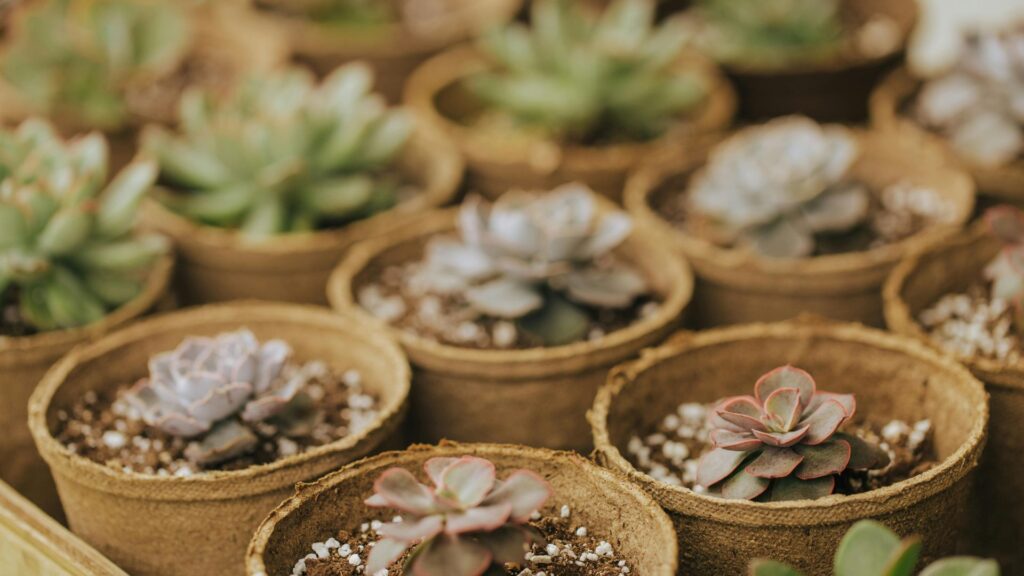
Succulents
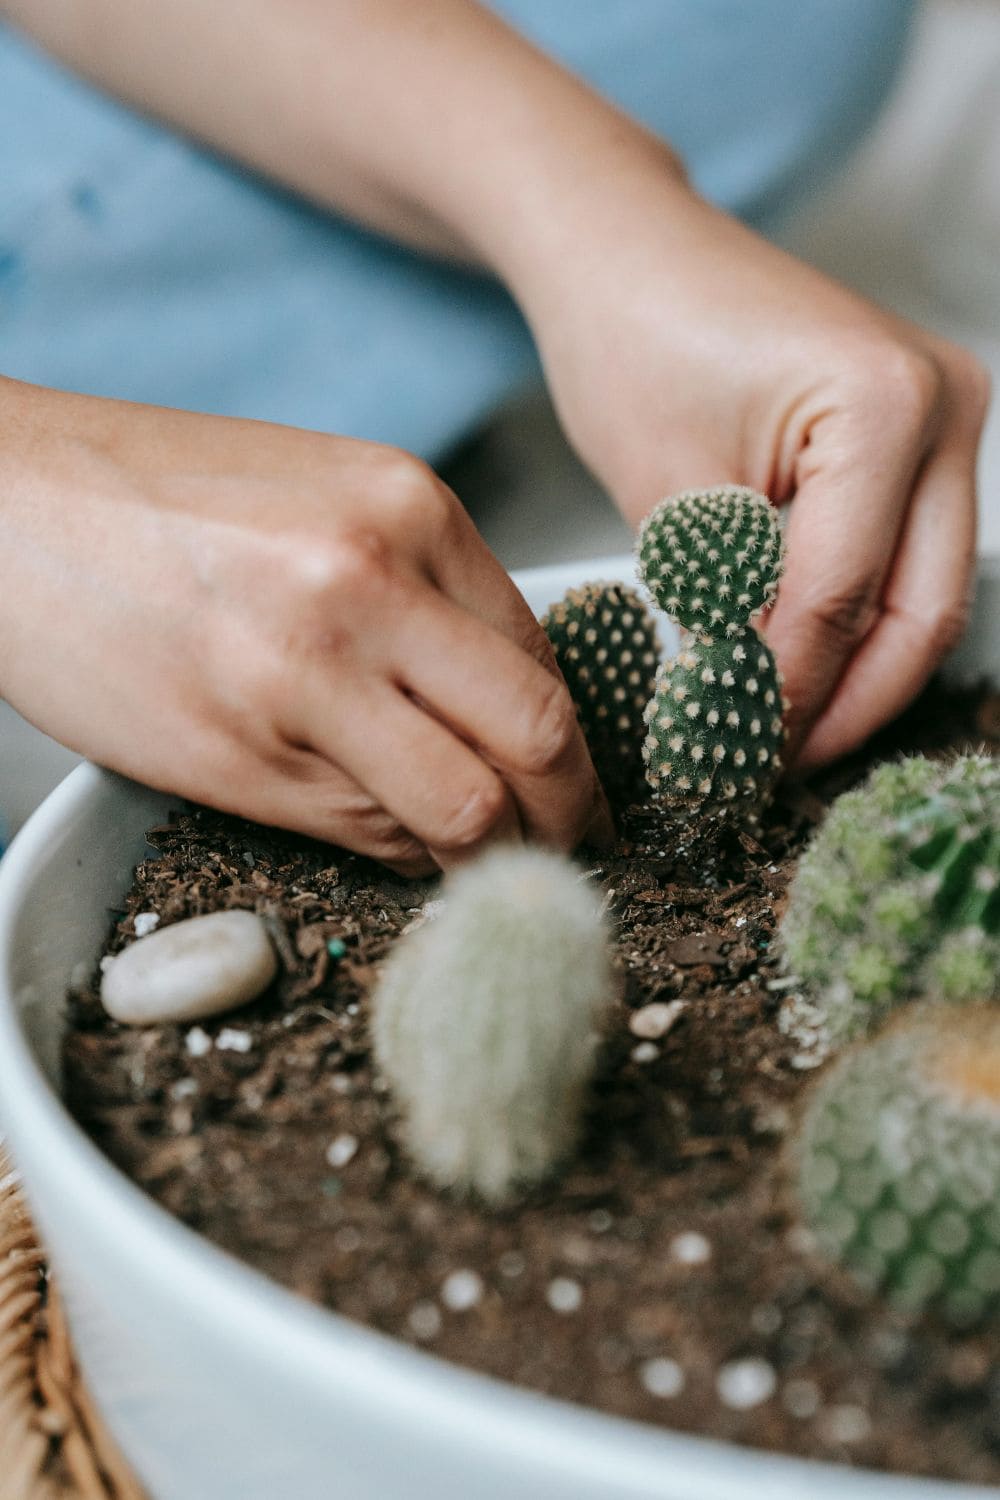
- Method: Leaf cuttings
- Steps: Remove a healthy leaf then let it callus over for a few days and place it on top of soil and water sparingly, roots will form from the base of the leaf.
Related: Care Tips to Grow Cacti Indoors
Conclusion
Propagating indoor plants is a rewarding experience which allows you to make many clones of your plants for free.
Whether you choose to propagate from seeds, cuttings, division, or layering, the key is to be patient and never get disheartened.