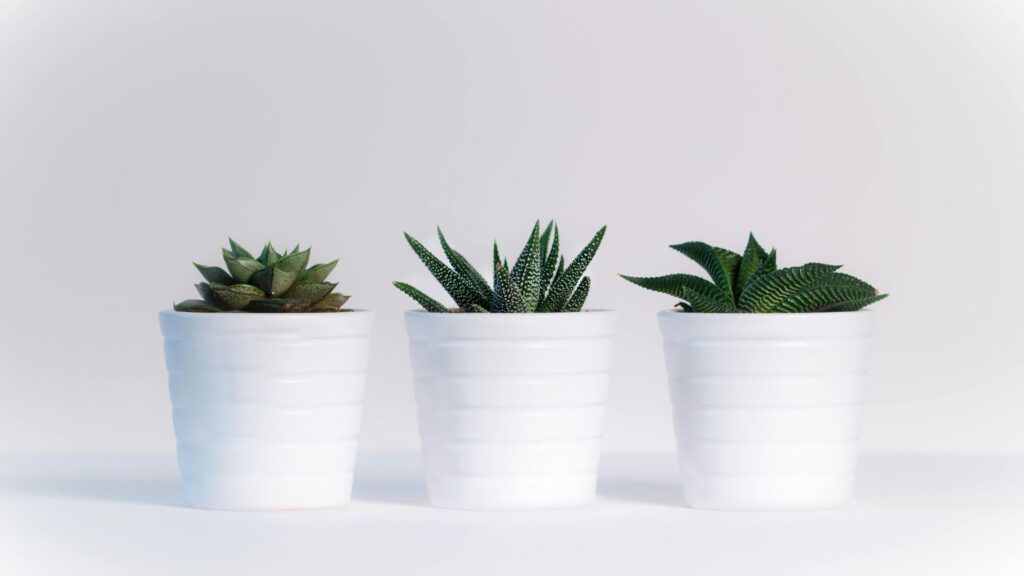
It’s very important to repot house plants, as it is the main factor in having a healthy bushy plant. It also gives them more space, fresh soil, and a chance to breathe.
If you’re new to this, don’t worry. This guide will not only help you but also explain everything to you step-by-step. So, let’s start with this article.

Why Is Repotting Important?
Plants outgrow their pots, which makes them a bit congested as the roots don’t get enough space. When roots take up too much space, they become root-bound; that’s why we have to repot them on a monthly basis, as it prevents root rot.
Root-bounding may stunt a plant’s growth. Fresh soil not only provides nutrients, but it also improves water drainage. Repotting your indoor plants helps prevent diseases. It’s also the main key to the plant’s overall well-being.
Signs Your Plant Needs Repotting
- Roots are visible on the surface or through the drainage holes.
- Water sits on the soil surface for a long time.
- The plant looks top-heavy or the pot is cracking.
- Soil dries out quickly after watering.
- Growth has slowed or stopped.
So, if you notice any of the signs mentioned above, it’s time to repot your plant.
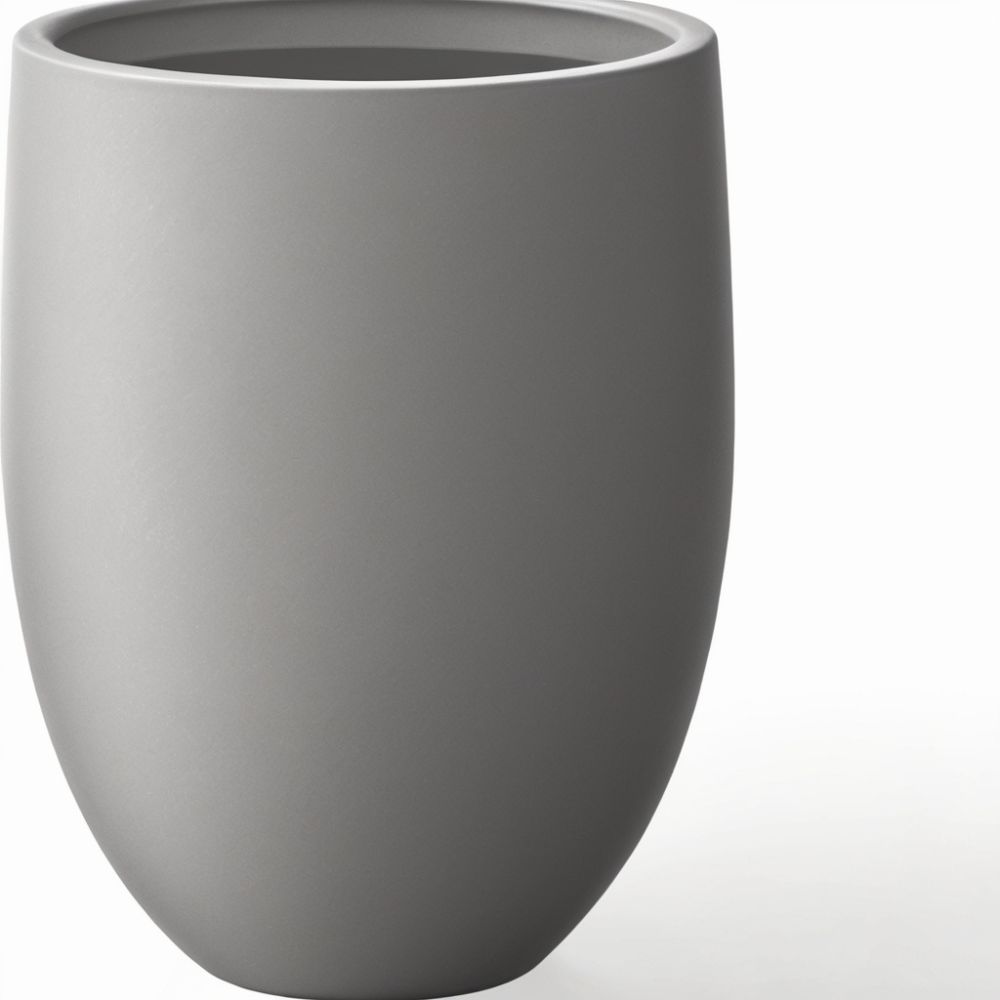
Amazon Product Recommendation
If you're planning to do indoor gardening then you must a nice concrete pot, so here is one for you.
Disclaimer: Commissions are earned if you make a purchase through these links at no extra cost to you.
How to Repot House Plants
Repotting your house plants is a quite simple process and requires very little time. So, these are the eight steps you need to follow to repot house plants successfully:
1. Choosing the Right Time to Repot
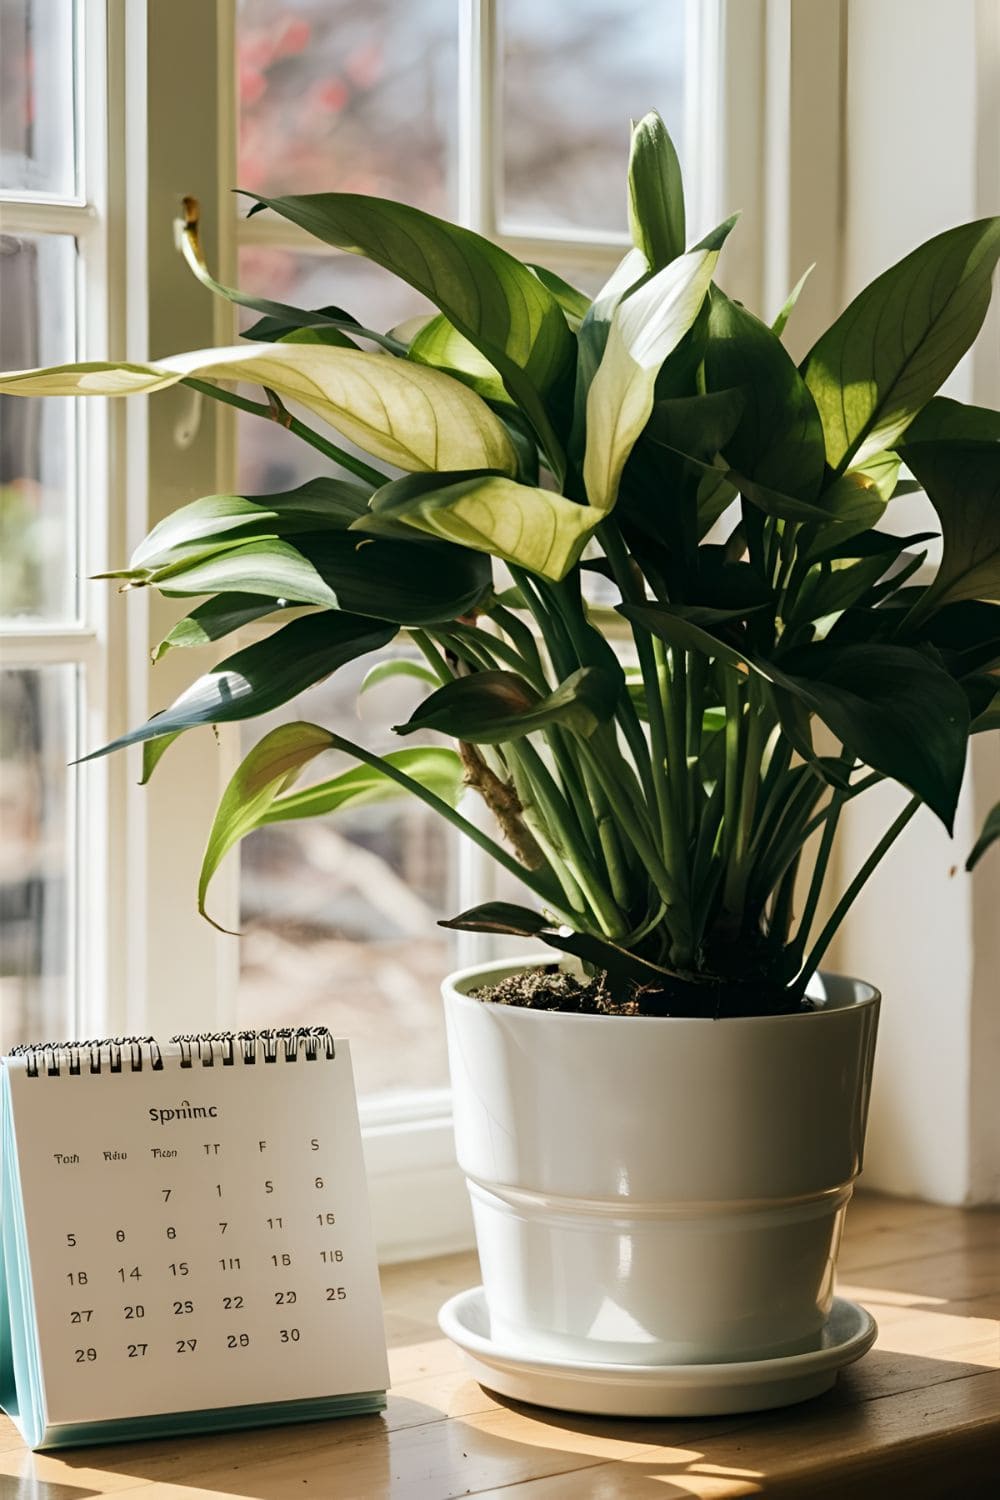
Spring is the best season to repot house plants. As in spring, plants are starting to grow again. Avoid repotting in winter. As the plants are usually resting in winter.
Repotting your indoor plants during active growth seasons helps them recover faster and they are less likely to get root rot.
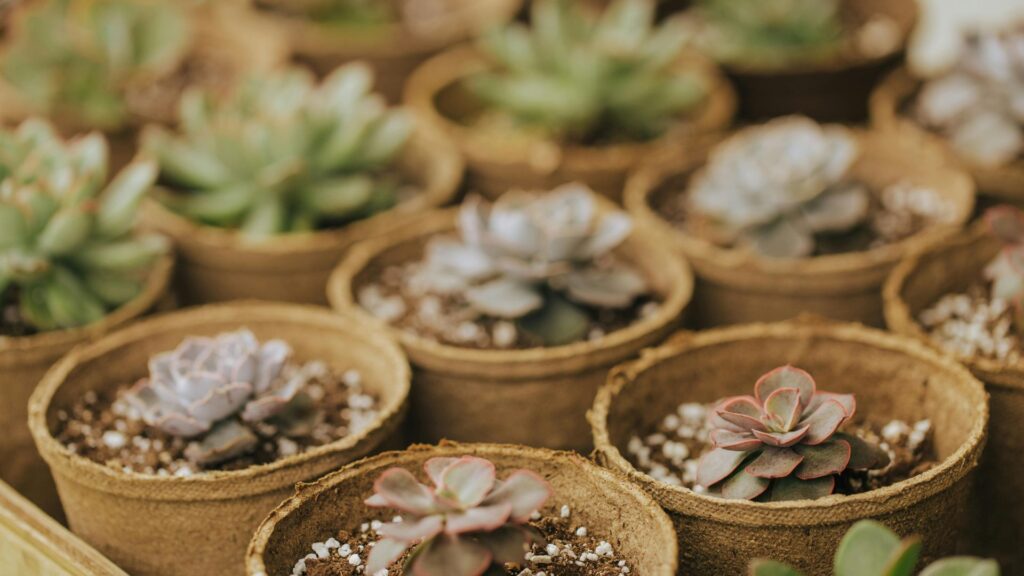
2. Gathering Your Supplies
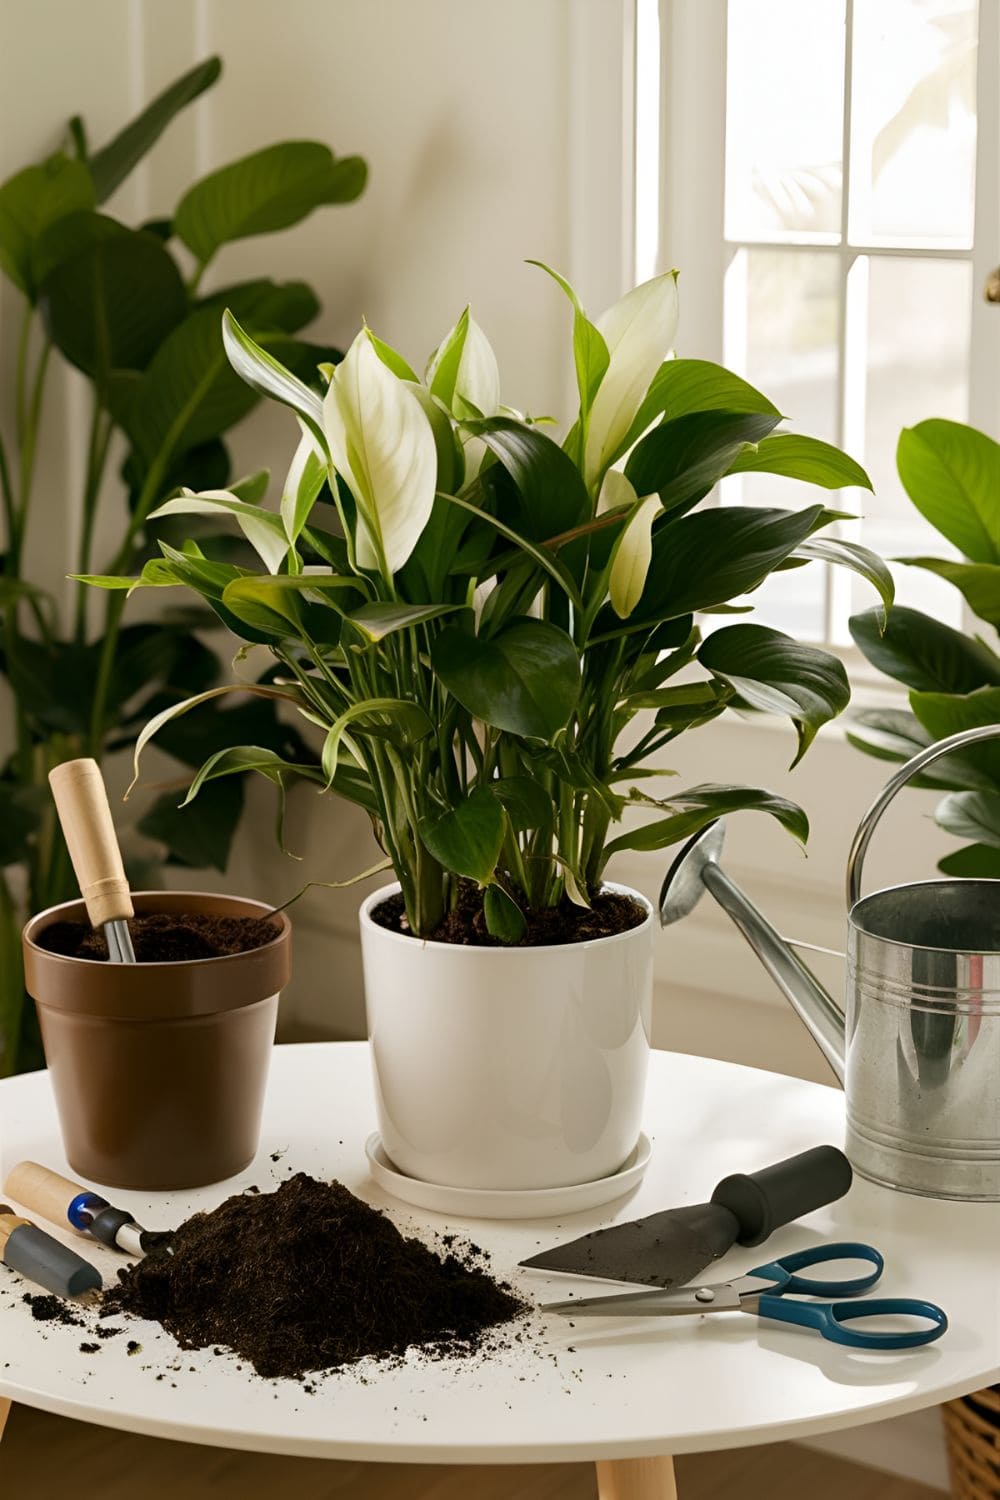
To repot house plants, you’ll need a few things:
- A new pot (1-2 inches or more but larger than the current one)
- Fresh potting soil
- A trowel or small shovel
- Scissors or pruning shears
- Watering can
Make sure to have clean supplies, as this prevents the spread of diseases.
3. Preparing the New Pot
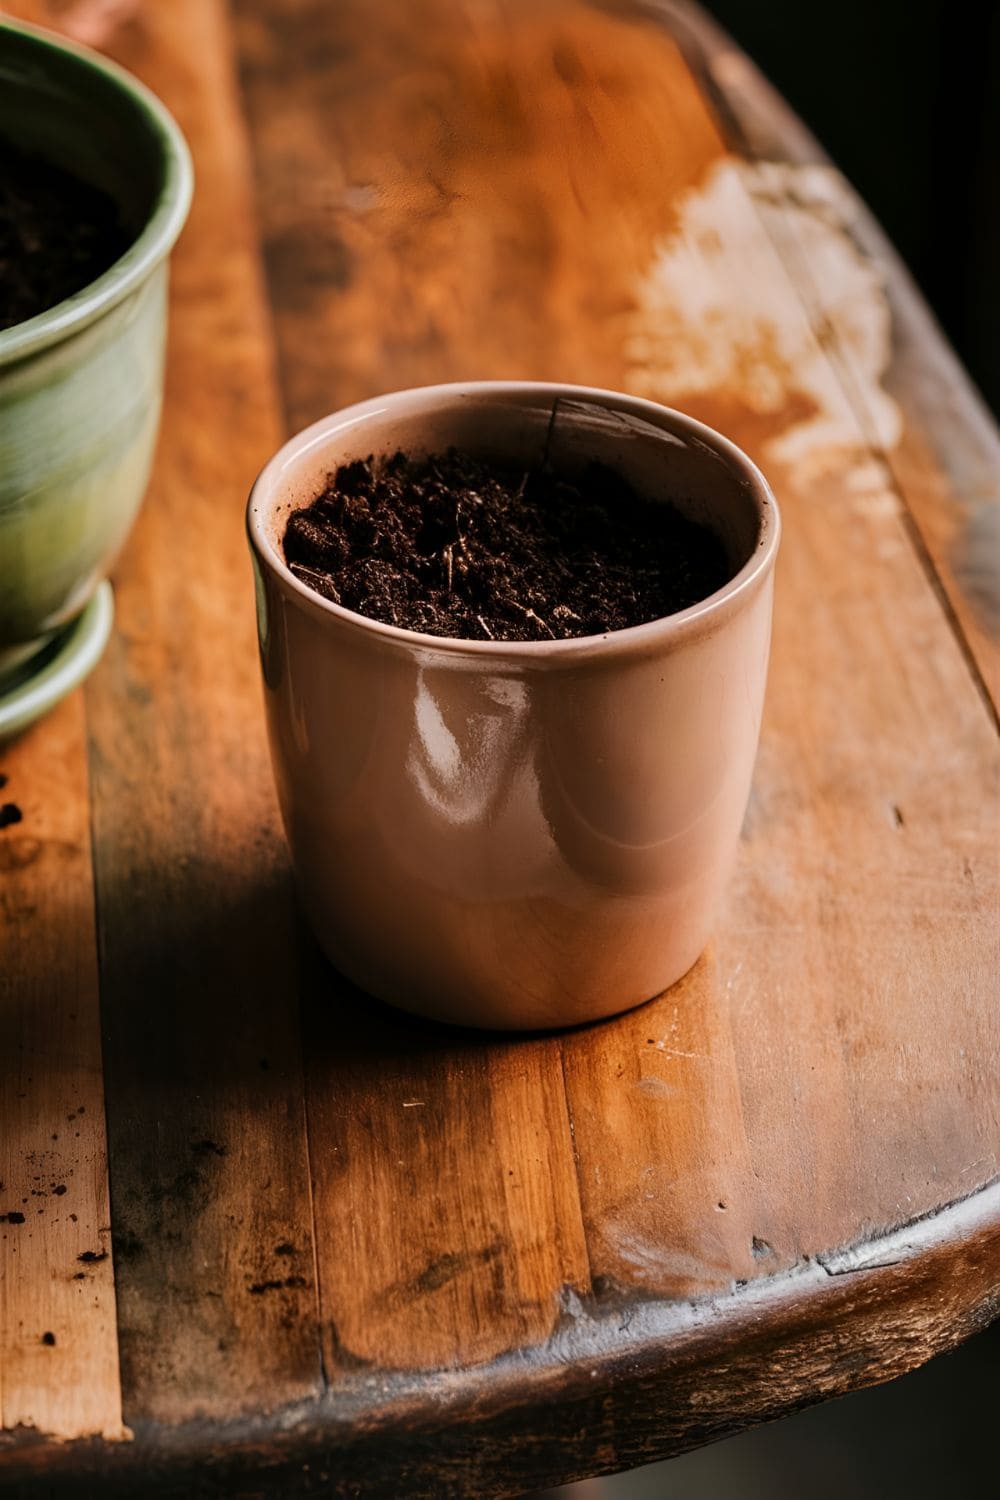
First, check the drainage holes, as good drainage is essential for your plant’s growth. If the pot doesn’t have holes, consider adding some.
Line the bottom with a small layer of gravel. This improves drainage.
4. Removing the Plant from Its Current Pot
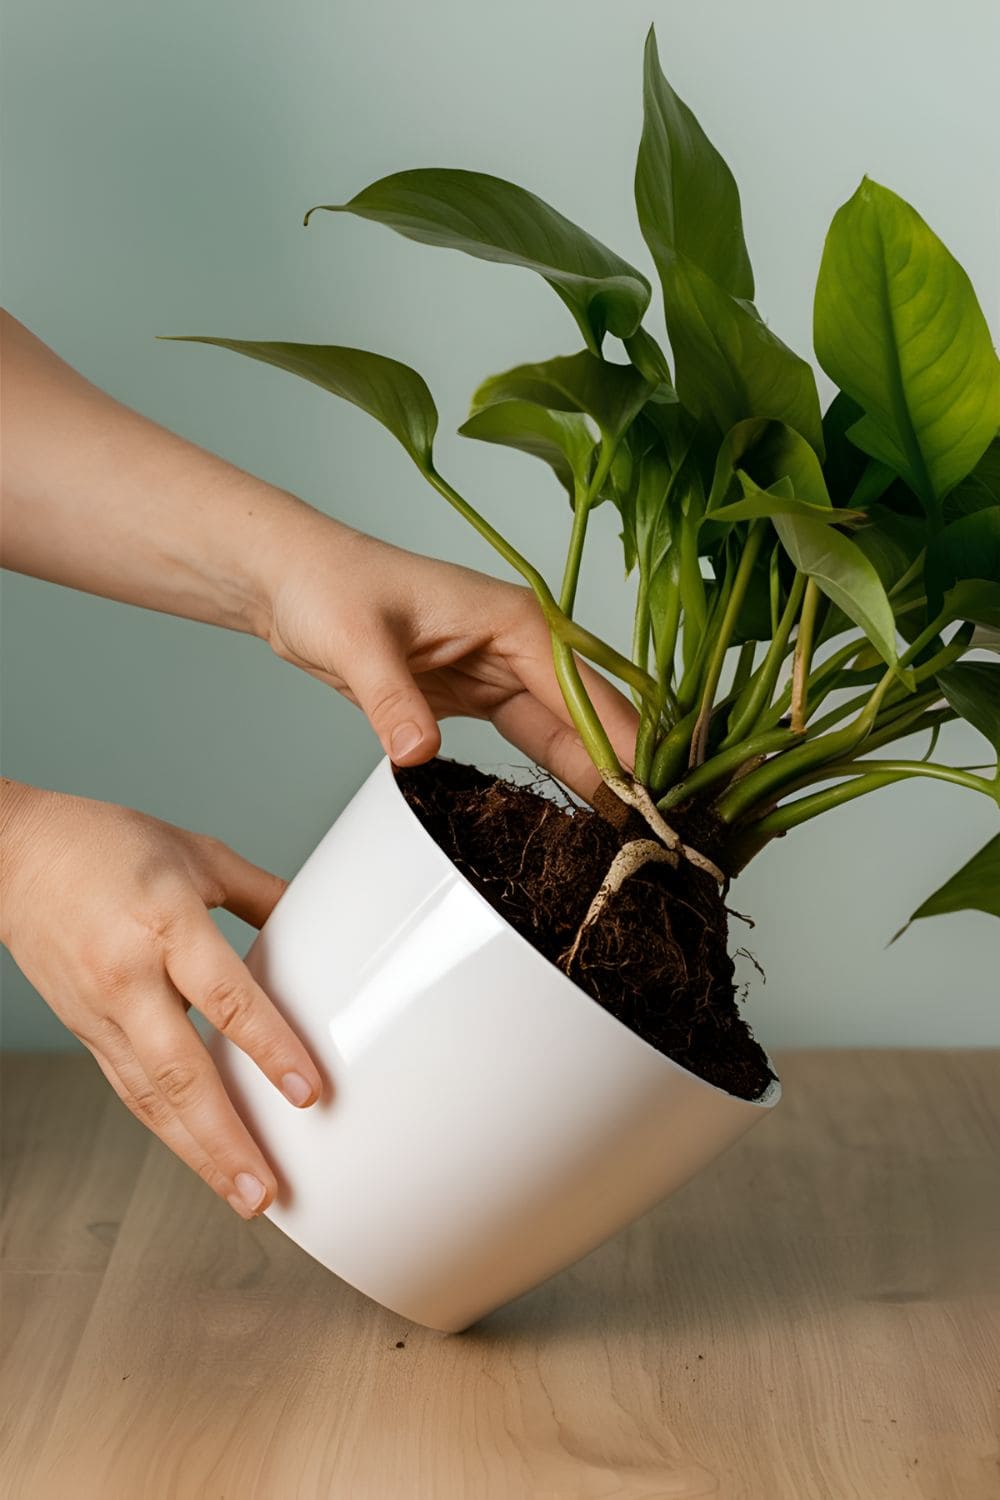
Make sure to water the plant a day before repotting, as this makes it easier to remove. Gently tip the pot on its side.
Tap the bottom to loosen the soil, which makes it easier to remove. Then hold the plant by its base. Carefully pull it out. If it’s stuck, use a knife to loosen the edges, but make sure not to damage its roots.
5. Inspecting the Roots

Then, shake off any excess soil gently. Inspect the roots for health. Healthy roots are white and firm. Brown or mushy roots indicate rot.
Trim away any damaged roots. Be gentle to avoid shocking the plant(transplant shock), which may result in shedding leaves, stem-bending, and curled leaves.
6. Placing the Plant in the New Pot
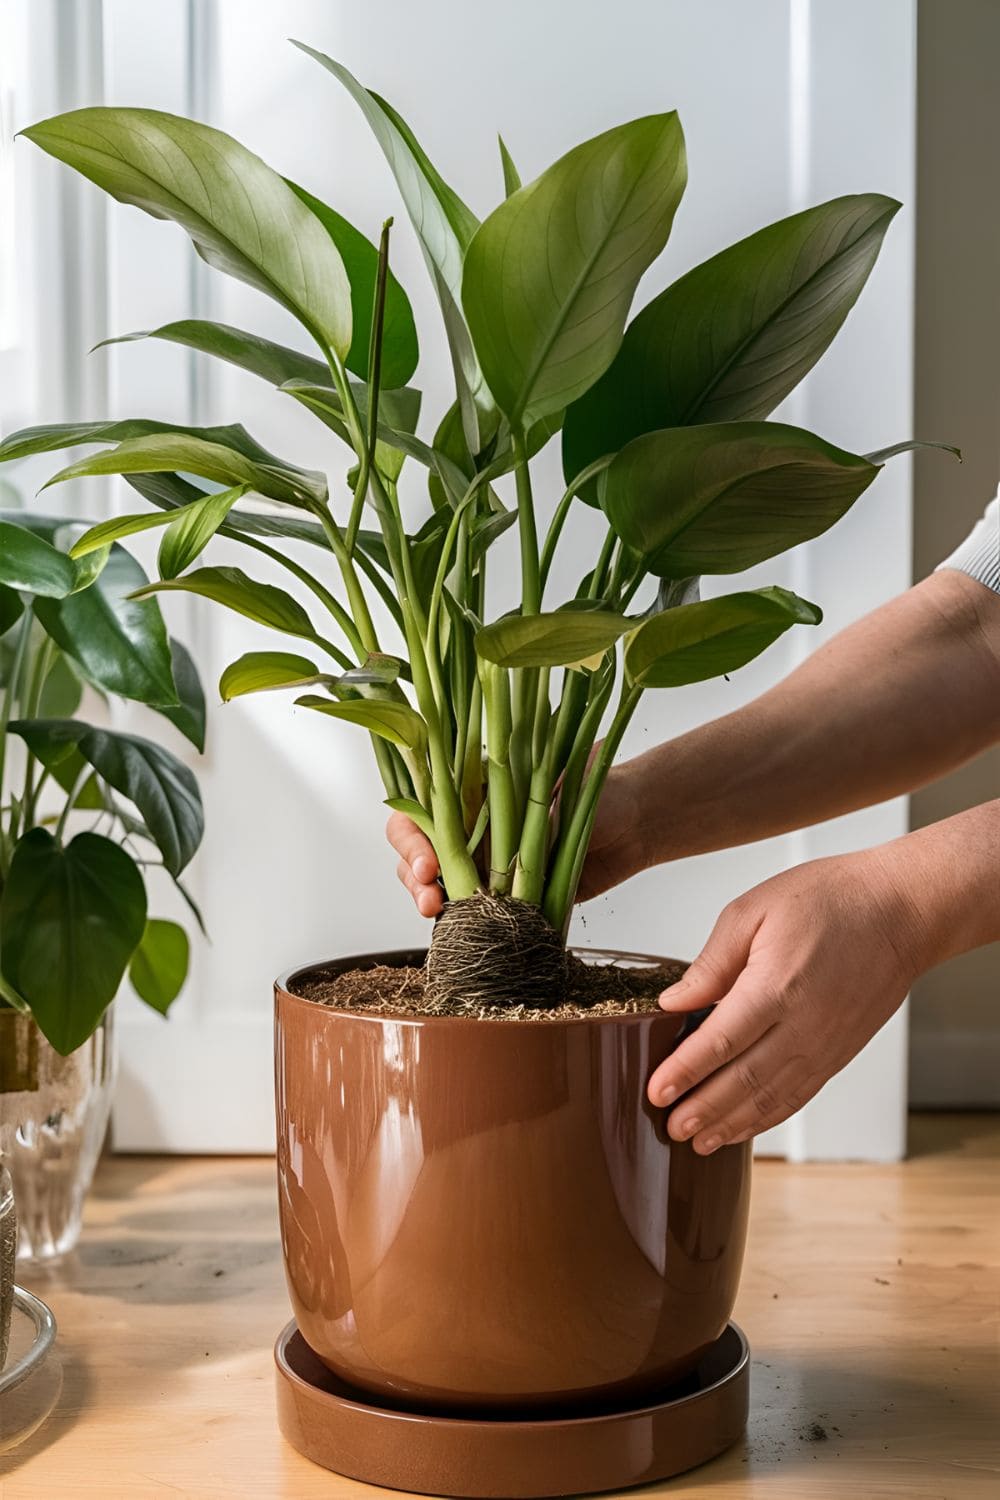
First, fill the new pot with a layer of fresh soil. Position the plant in the center. Adjust the height. The top of the root ball should be slightly below the pot’s rim.
Make sure to fill in around the plant with soil. Press down gently to eliminate air pockets, as air pockets can cause damage to your healthy plant.
7. Watering After Repotting
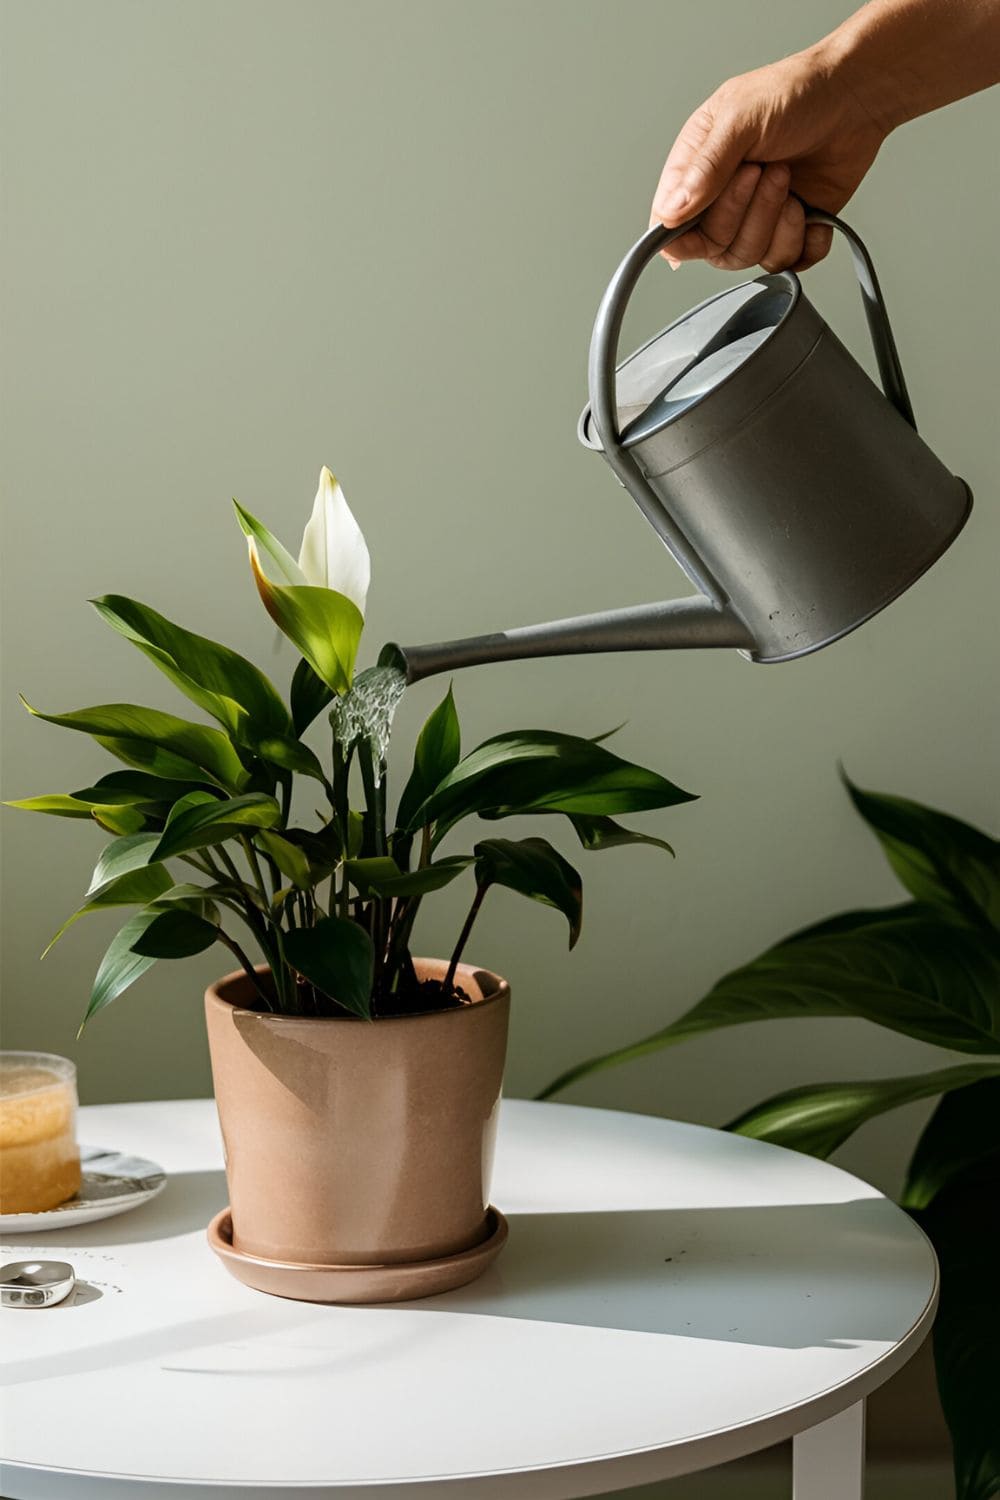
When you have repotted your plant successfully, water it thoroughly. This helps to settle the soil. It also provides moisture for the roots.
Make sure excess water drains out. Avoid letting the plant sit in water, as it may cause damage. It is best not to water at night.
8. Post-Repotting Care

If you want your plant to be happier than ever, place the plant in a shady spot for a few days. This reduces transplant shock. Your plant will need your care for a few days after repotting.
Gradually move it back to its usual location. Monitor for signs of stress. Your plant may temporarily slow its growth, and drooping or yellowing leaves are common but should pass.
Related: Best Indoor Plants For Beginners
Common Mistakes to Avoid
Some common mistakes you might make in this process are listed below. So, make sure to avoid them.
- Using a pot that’s too large is a pretty common mistake. Take the necessary size of plant.
- Not making proper drainage holes. Make sure that they are presented in your pot.
- Using garden soil instead of potting mix. Potting mix is better than gardening soil.
- Overwatering or underwatering after repotting can cause damage to your plant.
These mistakes might make the plants grow slower, so avoid them.
FAQs About Repotting Your Indoor Plants
Do all plants need repotting?
Not all. Some plants prefer being root-bound. Research your specific plant’s needs. For example, succulents don’t need frequent repotting.
Can I reuse the old potting soil?
It’s best to use fresh soil, as it contains nutrients. Old soil can harbor pests and diseases. But you can refresh old soil by mixing it with a new potting mix.
How often should I repot my plants?
It depends on your plant. Normally, every 1-2 years. Fast-growing plants may need more frequent repotting. Slow growers and succulents can go longer.
What if I damage the roots?
Trim any damaged roots. Healthy plants usually recover quickly. Ensure the plant is well-watered and gets indirect light during recovery.
What Are The Benefits Of Repotting?
Repotting renews the plant. It promotes healthy growth. New soil means fresh nutrients. More space allows roots to expand. It boosts the plant’s health and appearance.
Conclusion
This is the complete guide to repotting your indoor plants. Repotting your indoor plants may seem tiring at first, but with practice, it becomes easier.
Remember, you should be gentle with your plants, give them time to adjust. With the right care, your plants will flourish in their new pots.